I had been wanting for some time to write a bit about Specification-Driven Development, especially about a tool I’ve been using a lot in my day-to-day work: OpenSpec. I tried several tools in the same category such as agent-os and spec-kit, but the simplicity and ease of use of OpenSpec won me over.
To demonstrate a bit of how I use it, I’ll create a small project from scratch, but I want to make it clear that OpenSpec works very well in projects that are already under development — the only difference will be the time investment you’ll need to populate the project.md file with information about the current state of the project. I’ll create this sample project using Cursor, since it’s the editor I’ve been using most lately, and OpenSpec works very well with it.
To begin, you need to have Node installed with a version equal to or greater than 20.19.0, as specified on the OpenSpec GitHub page. Once that’s done, installation is simple — just run the command npm install -g @fission-ai/openspec@latest, and OpenSpec will be installed!
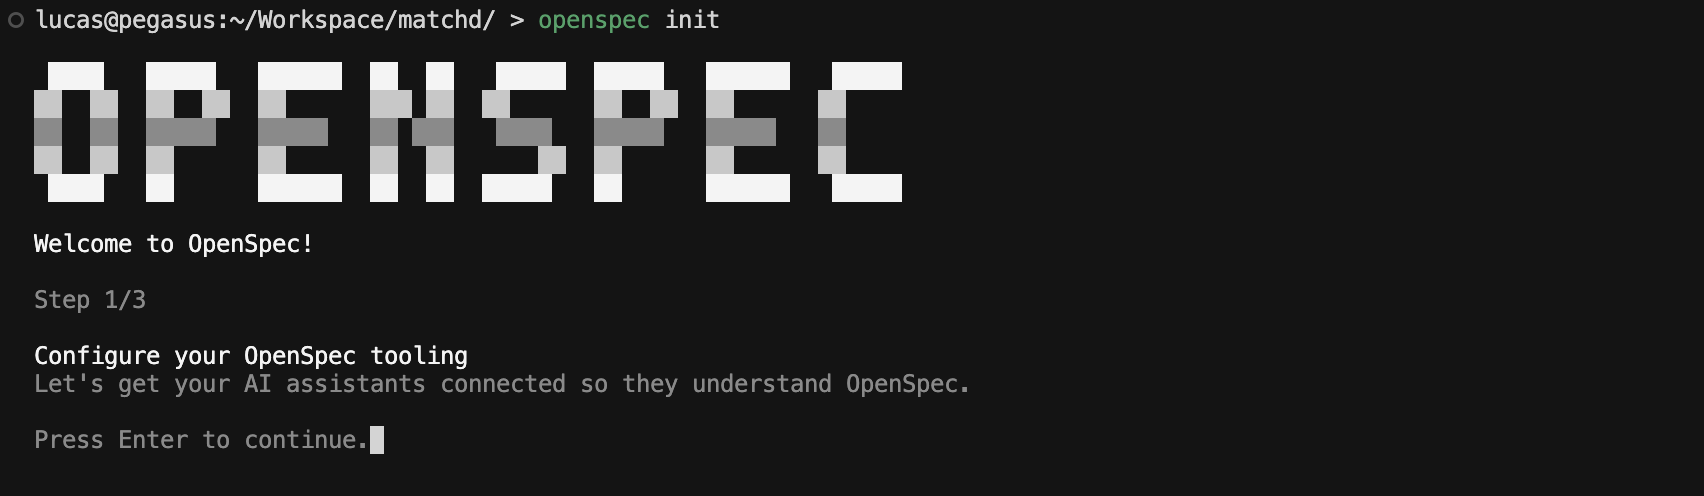
After that, to start using OpenSpec in a repository, you need to run the command openspec init in the root of your repository. This will execute the initialization wizard that guides you through the entire process. To start the setup, simply press Enter.
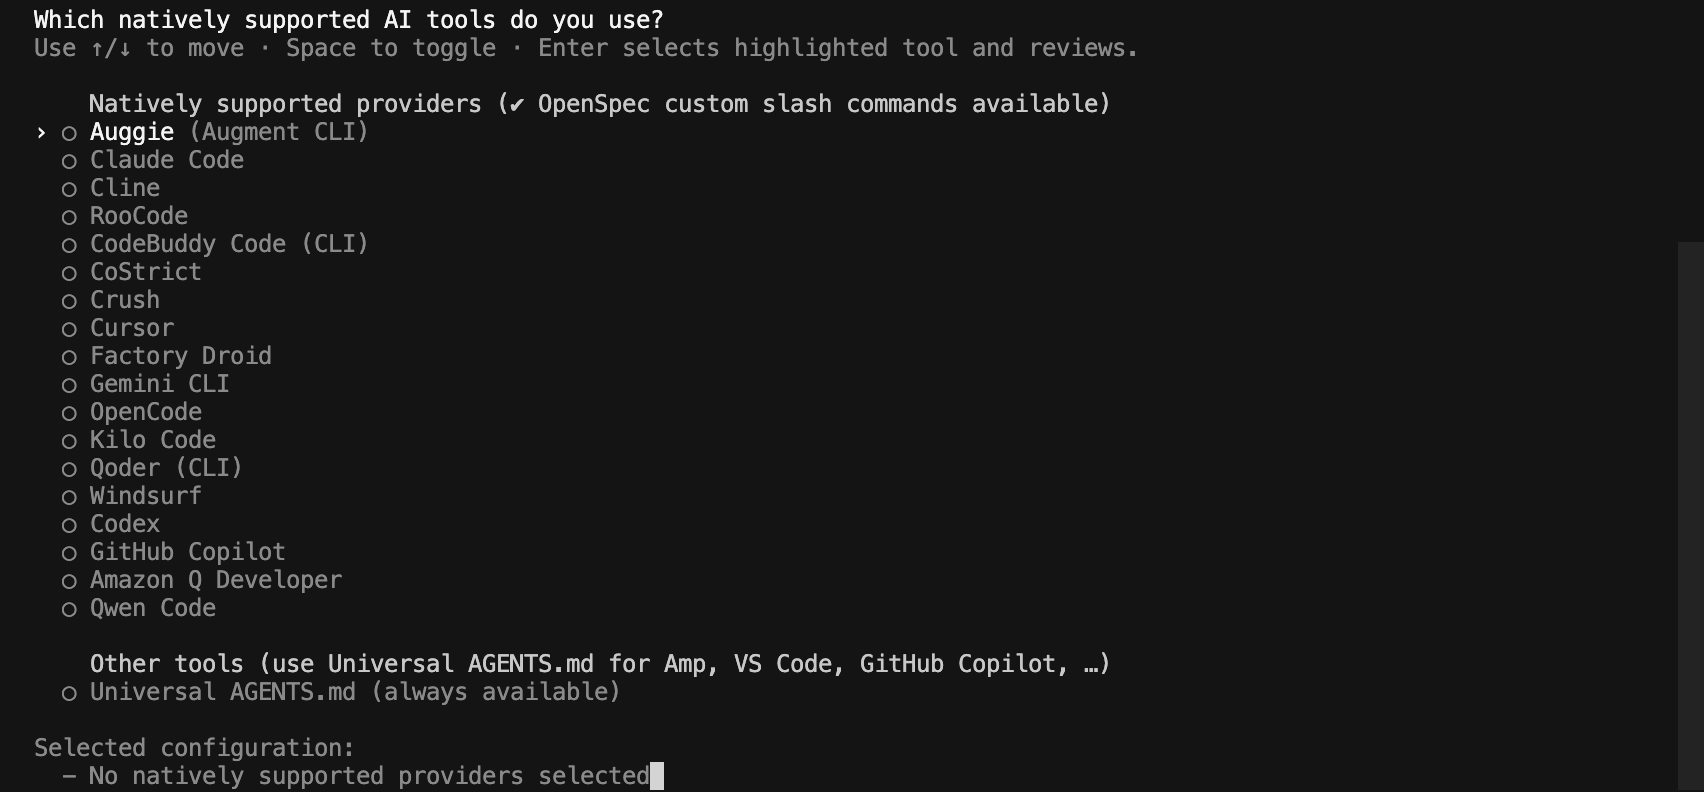
In the next step, the wizard will ask which tools you will use with OpenSpec. Basically, the initialization wizard will create the necessary files to make your development process easier and integrated with your chosen tool — including slash command shortcuts as well as the necessary prompt configuration for your agent. I usually select only Claude Code, since that’s another tool I use and Cursor supports the same types of files, but you could also select Cursor from the list to create its specific configuration files.
It’s worth noting that, in addition to all these listed tools, OpenSpec also offers universal support through the AGENTS.md file.
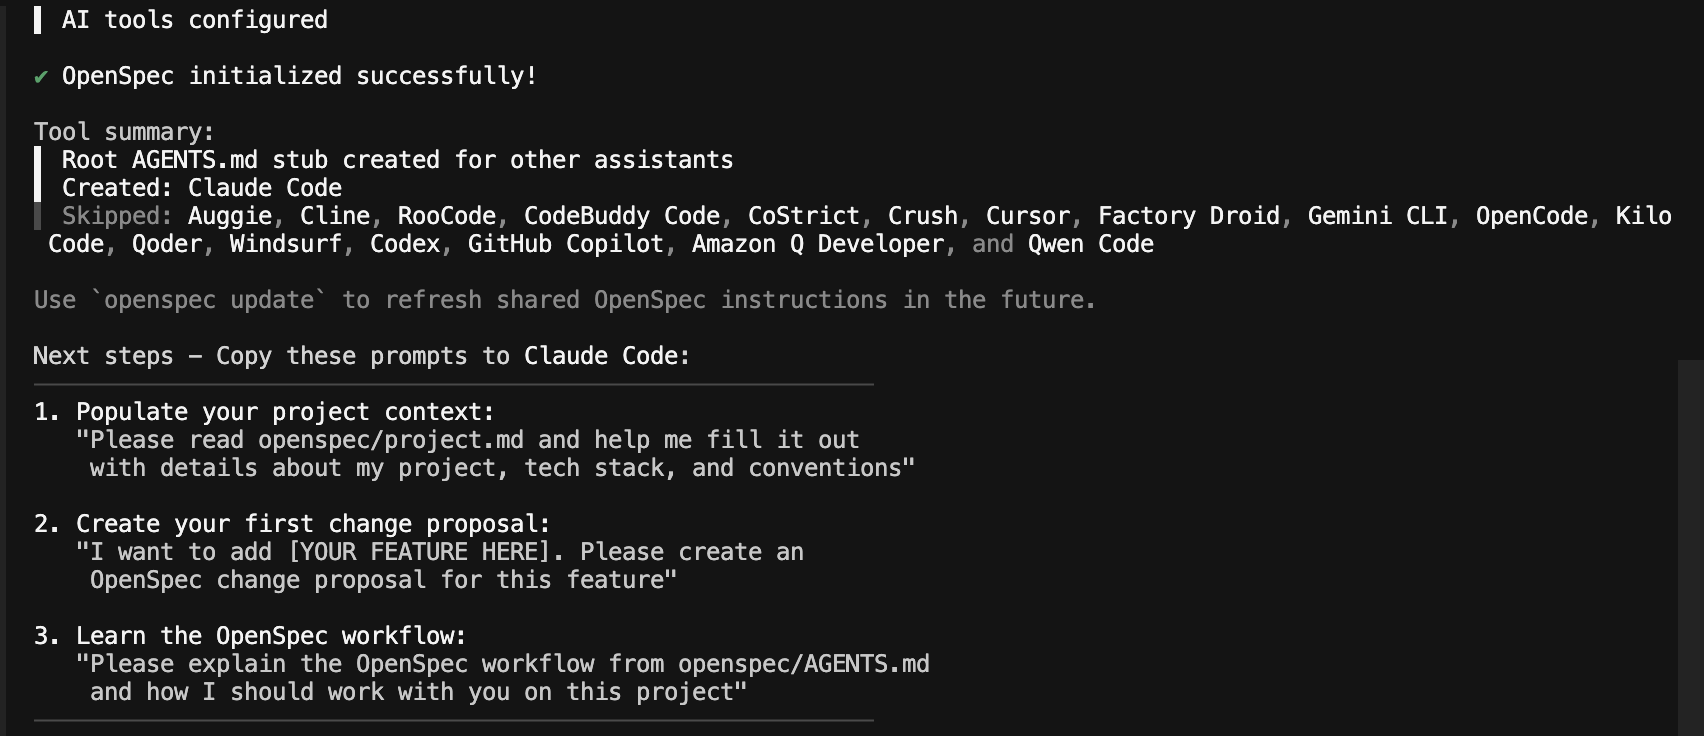
After confirming your choice, your repository will be initialized with all the necessary files to use OpenSpec, and the wizard will also guide you on how to start your development using the tool.
I’ll follow the instructions and use the first suggested prompt to populate my project.md file with the details of my project. For this example, I’ll use the auto model from Cursor, but you can use any model you prefer.
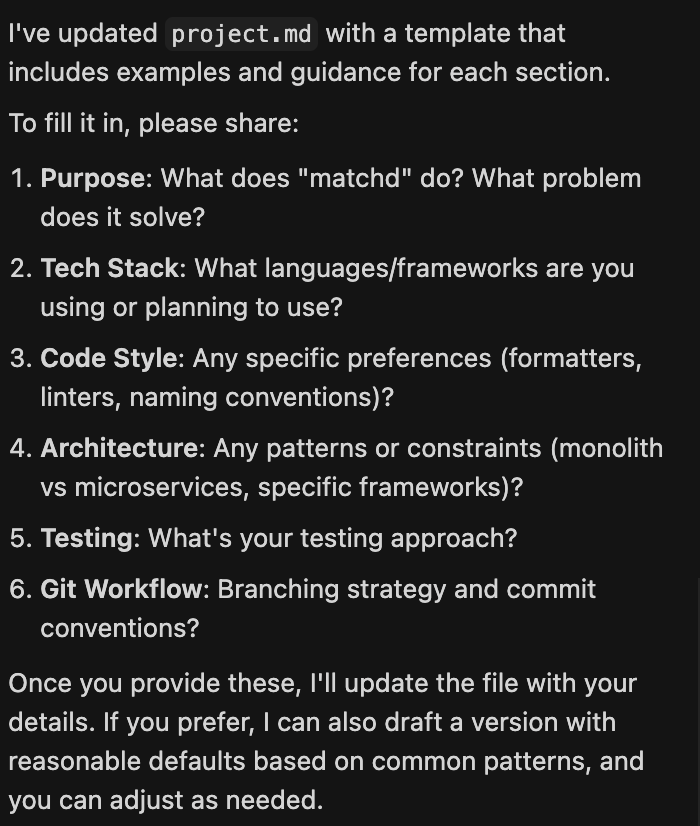
If you’re working with an existing repository, the agent will scan the files to gain a minimal understanding and fill out the project.md. Since in my case I have an empty repository, the agent asked me about the project details:
This example project will be an application to track volleyball match scores. So I filled in the following information:
1. Purpose: Matchd is an application to help tracking volleyball matches scores.
2. Tech Stack: We should use Typescript with React
3. Keep the code formatted using the recommended patterns for Typescript and use a formatter for automation
4. No preferences
5. We should follow a TDD approach and have unit tests for functional parts of the application
6. We should use Conventional Commits: https://www.conventionalcommits.org/en/v1.0.0/
And this was the resulting project.md:
# Project Context
... [kept identical to source]
This is the moment when you should review your project.md, add and validate information until it reflects the vision of your project.
From this point, we can start implementing our project. To do so, we’ll create a proposal. Following the OpenSpec workflow, for each new implementation, we must create a proposal describing what we expect to achieve. We do this via the slash command/openspec/proposal, or if your tool doesn’t support this integration, you can use a prompt like the one suggested by the setup wizard:
I want to add [YOUR FEATURE HERE]. Please create an OpenSpec change proposal for this feature
My first proposal will be as follows:
/openspec/proposal I want create the initial project setup. The expected output from this is a working application in Typescript + React with a sample page showing the name of the project.
Personally, I’ve had better results by always creating a new agent (chat) for each proposal — that way, I avoid polluting the context with unnecessary information.
After submitting the prompt, the agent will check existing specifications, your project.md, and will create the necessary directories and files for your proposal. All of these files are stored inside the openspec folder within your project directory. Usually, the files created are:
proposal.md: Contains a description of your proposal explaining why, what will change in the project, and what impact this change will have (specifications, code, and tools affected).
design.md: Contains information related to design choices for this proposal. It includes a brief context, objectives, what’s out of scope, decisions (and their rationale), risks, and open questions.
spec.md: Contains the actual specification describing scenarios, expected behaviors, and requirements.
tasks.md: Contains a numbered checklist of tasks.
This is when you should carefully check each of these generated documents to ensure they align with your expectations for the proposal. In particular, I recommend checking proposal.md and design.md. In the latter, I usually try to answer any open questions listed in the document (I do this through the agent prompt). After that, you can ask the agent to review all the proposal files to update any necessary points, and we can move on to the next step: applying a proposal.
With our proposal in a satisfactory state, we can use the next slash command/openspec/apply followed by the name (slug) of your proposal. As in the previous step, it’s also possible to use a prompt like:
Please, apply the OpenSpec proposal <name-of-your-proposal>
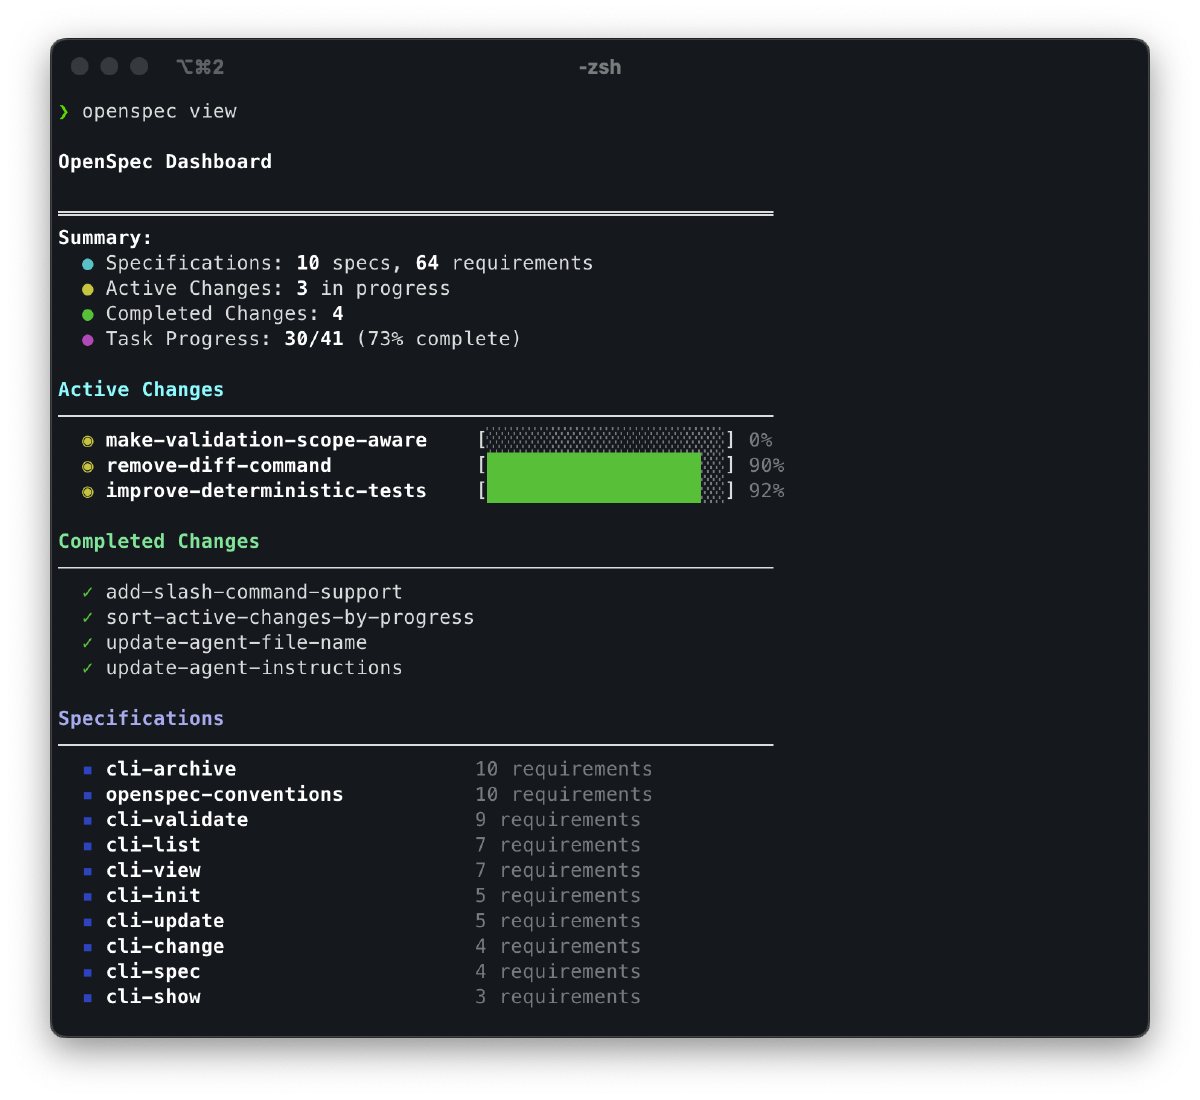
You can check the name of your proposal as well as list all existing ones using the command openspec list in the root of your repository.
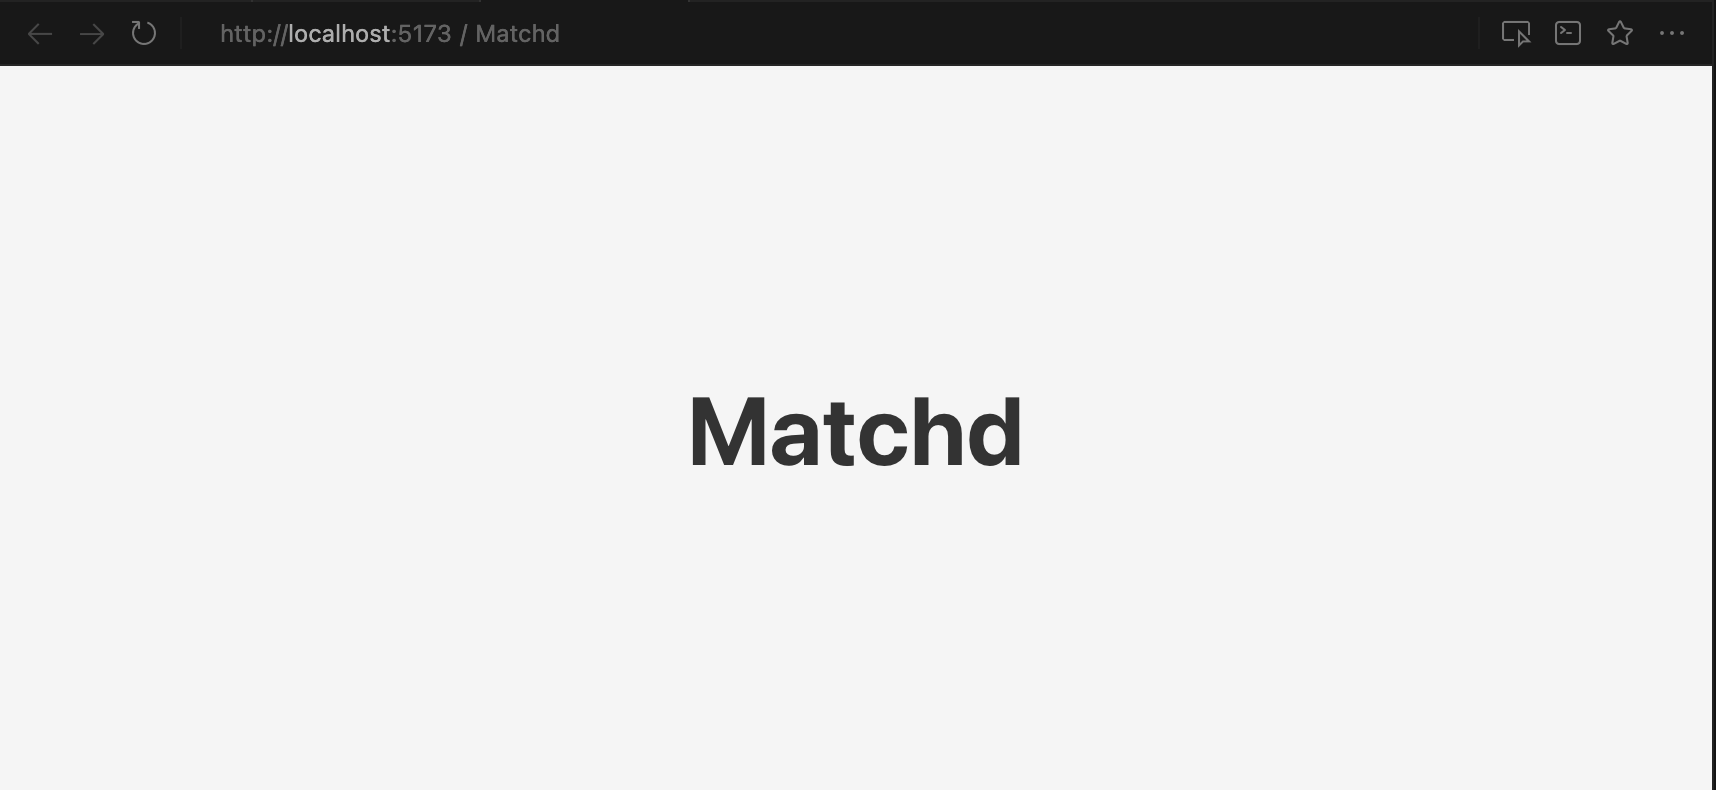
In my case, I used the slash command: /openspec/apply setup-initial-project. With that, the agent begins the implementation, marking each completed task in the tasks.md checklist. Once execution is complete, the result is the initial project structure created along with the functional requirement of a simple screen showing the project name being fulfilled:
Now it’s time for you to become a Code Reviewer and check whether the generated code matches your expectations, making any necessary changes (a familiar task for all of us using AI in software development 😂). I always recommend using small proposals to make code review and modification easier.
After completing the application of your proposal, if you use the command openspec list, you’ll see that the change is marked as complete:
If it’s not marked as complete, the number of unfinished tasks will be displayed. In that case, I recommend checking tasks.md, since the agent may have skipped implementing some tasks due to limitations — and further prompts may be necessary to guide the AI.
I see the greatest benefit of using OpenSpec as providing a well-defined and structured process for the AI, reducing the likelihood of hallucinations or it trying to be unnecessarily “efficient” (which happens often with the latest models).